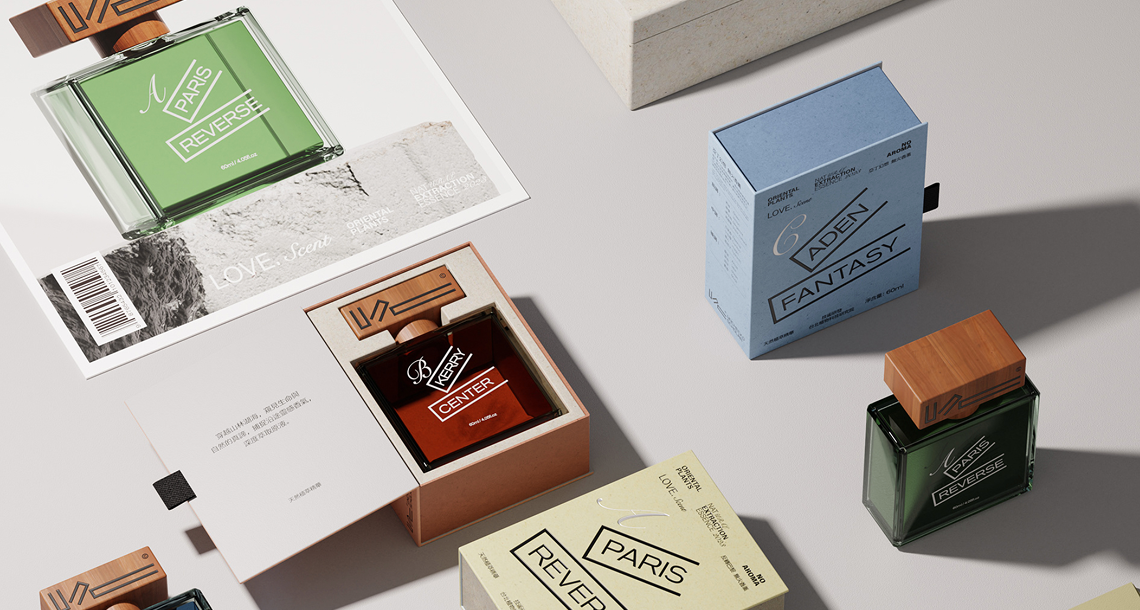
Twelve weeks is not a comfortable timeline for launching a new fragrance with fully custom packaging. But it is achievable — if you know exactly what needs to happen each week, who is responsible for each decision, and where the irreversible commitment points are. This checklist is designed for brand founders and product development managers who need a structured framework to coordinate their perfume bottle manufacturer, their fragrance house, their regulatory consultant, and their logistics provider simultaneously.
Before Week 1: The Prerequisites
This checklist assumes you have already completed two things before the 12-week clock starts. First, you have a confirmed fragrance formula — or at least a formula locked enough that you know the fill volume, the required pump dosage, and whether the formula contains any aggressive solvents that require specific glass compatibility testing. Second, you have a clear visual brief: bottle shape category, color direction, finish preference, and secondary packaging concept. Starting the packaging development clock without these locked means your 12 weeks will be spent making decisions that should have been made in the prior planning phase.
Weeks 1–2: Specification Lock and Supplier Confirmation
Week 1 begins with a specification document sent to your perfume bottle manufacturer covering all technical parameters: bottle volume, neck finish, glass type, surface treatment, pump specifications (dosage, dip tube length, collar finish), cap type and material, and carton dimensions and print specification. By the end of week 2, you should have written confirmation from your manufacturer that they can meet these specifications, a quoted lead time for samples, a production lead time for the confirmed order quantity, and a per-unit price at your target volume. Any supplier who cannot confirm all four of these items in writing within two weeks is not operationally ready for a 12-week timeline.
Weeks 3–5: Sample Production and First Review
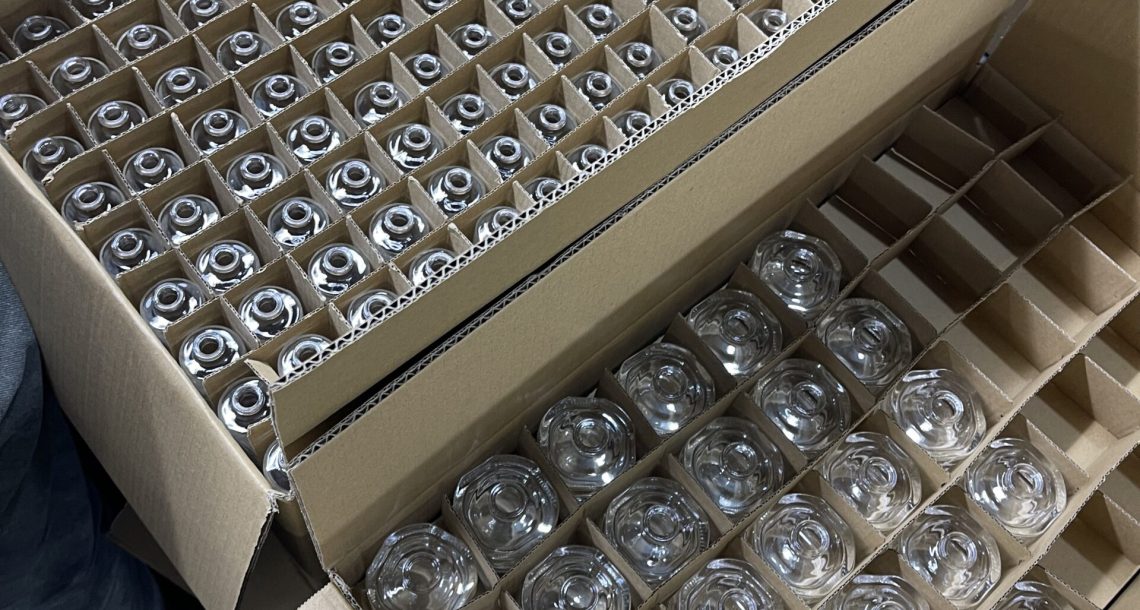
The manufacturer produces pre-production samples of all four components: bottle, pump, cap, and carton box. Your review of these samples should be systematic. For the bottle: check glass clarity, surface coating adhesion (use a cross-hatch adhesion test if frosted coating is applied), neck thread accuracy, and base stability. For the pump: test stroke volume against your formula dosage requirement, check actuator travel distance, and verify the pump locks in a closed position for shipping. For the cap: test fit and release torque on the assembled pump collar. For the carton: verify all text, barcodes, and regulatory copy against your compliance checklist.
Week 6: Sample Revision and Re-Approval
Plan for one revision round. Brands that assume first samples will be perfect consistently blow their timeline when revisions are needed. Submit all revision comments in a single consolidated document — not a series of emails over three days. Prioritize comments into must-fix (production blockers) and nice-to-fix (preference improvements). A manufacturer who requires more than one week to produce revised samples for standard revisions has a capacity problem worth noting. Approve revised samples in writing with a signed sample sign-off sheet retained by both parties.
Weeks 7–8: Production Authorization and Material Commitment
Once samples are approved, issue your purchase order with explicit delivery terms, inspection protocol reference, and defect tolerance (AQL level). Your manufacturer will now commit raw materials — this is the point of no financial return for most orders. Before authorizing production, confirm two things: your formula compatibility testing is complete (no glass corrosion, no pump seal degradation), and your regulatory documentation is in process for your target market. Waiting until production is complete to begin REACH or PROP 65 compliance review is a common and costly mistake.
Weeks 9–13: Production Monitoring and Mid-Run QC
Request mid-production photos at the 30% and 70% completion milestones. These should show the production line, assembled units, and any decoration in process. A QC report at each milestone should include current defect rate against AQL, any material substitution flags (sometimes raw materials are substituted without buyer notification — a production contract should explicitly prohibit this), and updated completion ETA. If you have not arranged third-party inspection, book an independent inspector now for the final QC date.
Week 14: Final Inspection and Freight Booking
Final inspection covers all four components assembled as complete units. Your inspector should check a statistically meaningful sample size against AQL 2.5 for major defects. Simultaneously, finalize your freight booking — do not wait for inspection results to book the vessel, as space on popular routes fills quickly. If inspection results require a production hold, you can cancel the freight booking, but holding space is preferable to scrambling for availability after a clean inspection pass.
Weeks 15–18: Transit and Pre-Launch Preparation
Ocean freight from Asia to European and North American ports runs 18 to 35 days depending on routing. Use this transit time productively: complete your regulatory filing, prepare your e-commerce product listings using sample photography, brief your warehouse on receiving and quality check procedures, and prepare your launch communications. Brands that treat the transit period as passive waiting time arrive at launch day less prepared than those who treat it as their final preparation sprint.
→ Download our editable 12-week NPD checklist template, formatted for perfume packaging project management. Or contact our product development team to receive a custom timeline built around your specific bottle configuration, target market, and launch date.